Setting Up Robot Launch via Windows Task Scheduler#
1. Open the project diagram in Sherpa Designer#

2. Publish the project (Robot) to the Desktop#

3. Find “Windows Administrative Tools”#

3.1. Open “Windows Administrative Tools” by double-clicking with the left mouse button. Enter “Task Scheduler”:

3.2. The following pop-up window will appear:

4. Enter the Windows Task Scheduler Library#
Right-click on a free space in the window with files, states, and triggers. Select the line “Create Basic Task”.

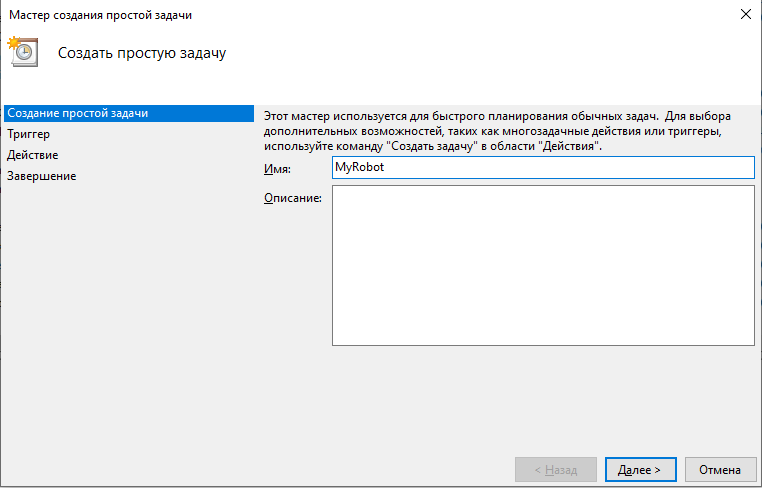
4.1. The “Create Basic Task” window will open. Sequentially fill in the fields in the tabs:
- “Create Basic Task”:
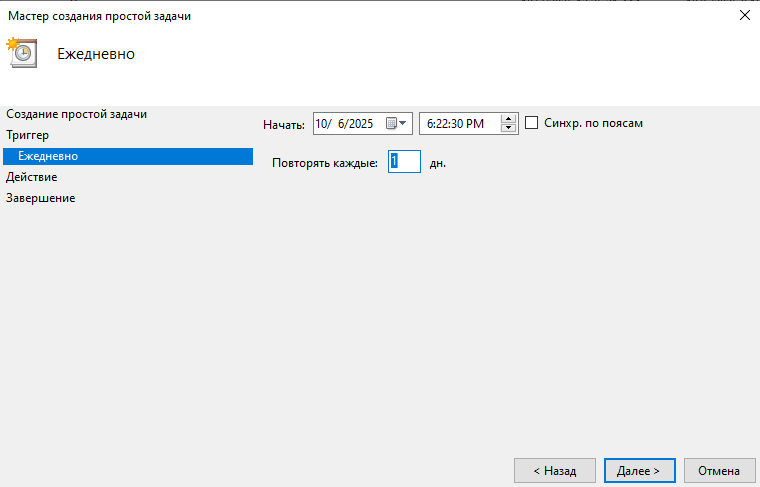
- “Trigger”:

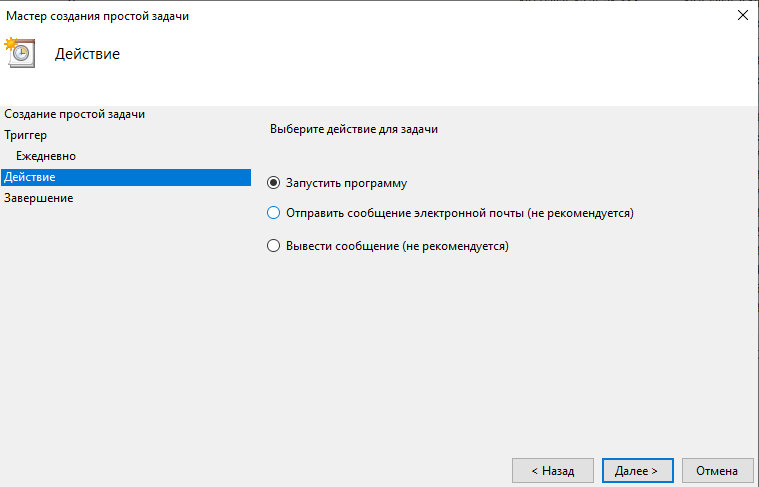
- “Action”:
In the appearing "Start a Program" tab, you need to fill in the fields "Program/script" and "Add arguments (optional)".
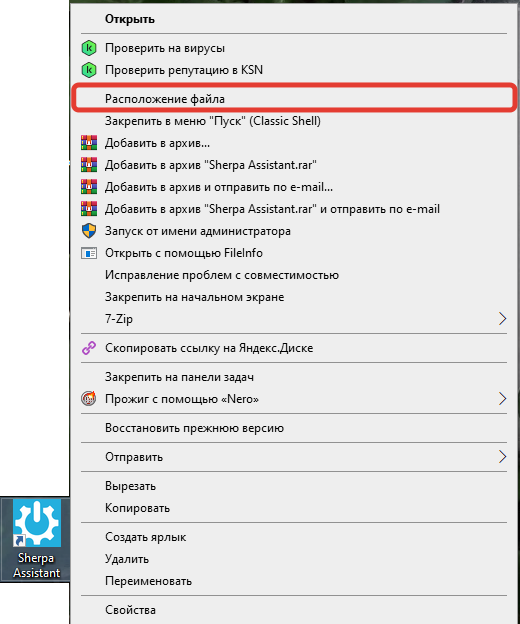
To fill in the "Program/script" field, you need to find the Sherpa Assistant shortcut on the desktop. Then right-click on the Sherpa Assistant shortcut and select "Open file location" from the context menu:
In the opened folder, find the ProcessAgent.exe file:
.png)
Copy the path to it. Paste the copied path (enclosed in quotes) into the "Program/script" field in the "Start a Program" tab.
Next, to fill in the "Add arguments (optional)" field, you need to find the required project (Robot) saved on the Desktop and copy the full path to it. After that, paste the copied path (enclosed in quotes) into the "Add arguments (optional)" field:
.png)
4.2. Click the “Next” button, check the task description, and then click the “Finish” button.

5. Execute the created task#
In the Windows Task Scheduler, a line with the created task will appear. Right-click on the desired line and select “Run” from the context menu:

5.1. If the pop-up window “How do you want to open this file” appears, click on “Sherpa RPA Robot” and confirm your choice by clicking the “OK” button:

The project (Robot) will start and execute the specified script.
The setup for launching the Robot via Windows Task Scheduler is complete. If you need to make changes to the launch settings, you must go to the “Properties” section in the context menu:

For example, to change the actions in the task, you can open the Actions tab and click the “Edit…” button:

Then change the script/arguments/working directory in the corresponding fields:

Video#
The launch of the Robot via Windows Task Scheduler is demonstrated in the following video: