OpenID Authentication#
To create a User with the login method "OpenID Authentication," you need to check the box "Use OpenID Authentication" and then fill in the "oAuth id" field:
.png)
To enable OpenID, you need to set parameters in the file ./backend/config/config.ini:
oAuthClientId="clientId"
oAuthClientSecret="clientSecret"
oAuthAuthUri="https://OpenID.url/authorize"
oAuthTokenUri="https://OpenID.url/token"
oAuthUserInfoUri="https://OpenID.url/info"
When requesting a token, the parameter redirect_uri is passed.
If you need to specify the Callback URL manually, then specify:
yourDomainURL/api/gui/system/oAuthHook
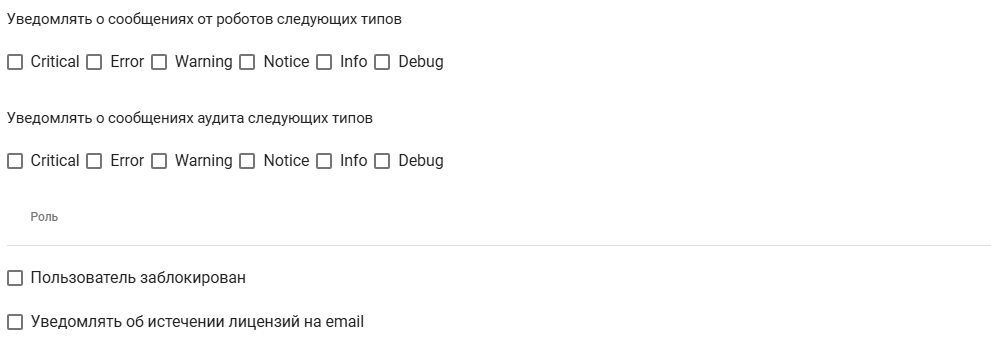
You can also fill in the additional fields:
| Interface Element | Description |
| text field “oAuth id” | OAuth identifier. This field is required. This field is available for OpenID authentication. |
| text field “Email” | Email address for automatic message sending. |
| text field “First Name” | User's first name. |
| text field “Last Name” | User's last name. |
| text field “Department” | Name of the department/location of the User's workplace. |
| checkboxes “Notify about audit messages of the following types” | Allows the User (when specifying an email address and checking the boxes for message types from Sherpa AI Server) to receive automatically sent notifications to their email. Possible options:
|
| field “Role” | Allows specifying a pre-configured Role (one or more), according to which access to Sherpa AI Server tools (creation, editing, reading, and deleting objects) will be configured. |
| checkbox “User is blocked” | Allows blocking the User. |
| checkbox “Notify about license expirations via email” | Enables the function to notify the User about license expirations via email. |