Documents#
The "Documents" tool allows you to upload your own files to the Sherpa AI Server document storage and organize them into folders. This document storage features a multi-level folder structure, where each folder can have an unlimited number of attachments (both subfolders and files).
| No. | Interface Element | Description |
| 1. | "Create Folder" button | Allows you to create new folders in the document storage. |
| 2. | "Upload Files" button | Allows you to upload your own files to the document storage. |
| 3. | "Download Files" button | Allows you to download one or more files from the document storage to the User's computer. Select one or more files by checking the boxes in the rows with the desired files and click this button. When downloading multiple files, they are packaged into a zip archive. |
| 4. | "Delete Selected" button | Allows you to delete selected folders from the document storage. You can also delete individual folders by clicking the .png) button in the row of the selected folder. When deleting a folder, a confirmation window appears. button in the row of the selected folder. When deleting a folder, a confirmation window appears. |
| 5. | "Refresh" button | Forces a refresh of the "Documents" table. |
| 6. | "Name" column | The name of the folder. The name can be edited directly in the table by double-clicking on it with the left mouse button. |
| 7. | "Description" column | The description of the folder. |
| 8. | "Created" column | The date and time the folder was created. |
| 9. | "Modified" column | The date and time of the last modification of the folder. |
| 10. | "Size" column | The size of the folder. |
| 11. | "Status" column | Indicates the readiness of the file for processing. Possible values:
|
| 12. | "Access Folder" column | Indicates the availability of folders for processing in dialogs with assistants without the need to check the settings of each assistant. |
.png)
The functionality of the "Documents" table allows you to perform the same actions as the functionality of the “Chat History” table.
Create Folder#
To create a new folder in the "Documents" table, click the "Create Folder" button and fill out the form that appears.
.png)
- Name *
A required text field for entering the folder name.
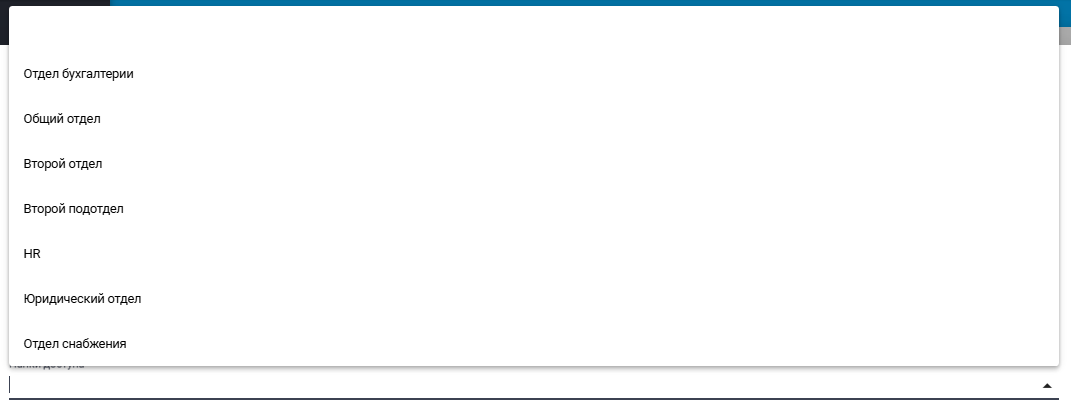
- Folder Analyzer
A dropdown list of semantic analyzers for automatic processing of files in the folder.
- Description
A text field for describing the contents of the folder.
- Access Folders
Select a directory for processing folders and files in dialogs with assistants without the need to check the settings of each assistant.
Edit Folder#
To view and edit the properties of a specific folder, select it from the list and click the button .png) . This will open a form with the folder settings, where you can make the necessary changes. In addition to the fields filled out when creating the folder, the form will display the GUID (unique identifier assigned to the folder after its creation). This field cannot be edited.
. This will open a form with the folder settings, where you can make the necessary changes. In addition to the fields filled out when creating the folder, the form will display the GUID (unique identifier assigned to the folder after its creation). This field cannot be edited.
.png)
Upload Files#
To upload one or more files to a specific folder, check the box in the row of the selected folder, then click the "Upload Files" button.
.png)
In the window that opens, select the desired files and click the "Open" button.
.png)
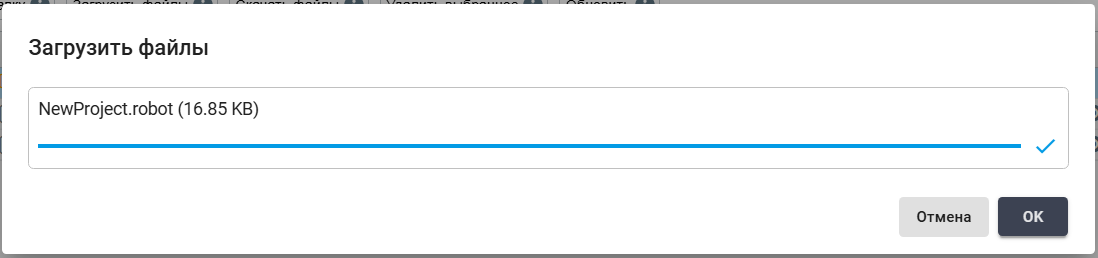
During the file upload, a window will appear showing the progress of each file being uploaded.
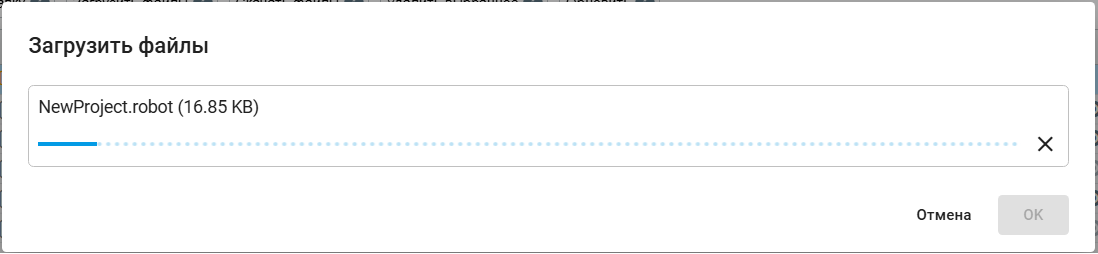
After all selected files have been uploaded, click "OK".
During processing, such a file will have the status "Processing", then the data from the processed file will be added to the storage, after which the status will change to "Ready". If an incorrect file (for example, one without a text layer) was uploaded, the status will display "Error Index".